Interview Lighting
In the second part of the series of articles covering how to film interview that is truly cinematic for your corporate video production project, we will talk about lighting. We will share several professional secrets and tips to help you make your process efficient, fast, and reach amazing Hollywood level results.
This is a pretty complex topic, but that’s what makes all the difference between mediocre content, and video production that stands out.
Before Starting to Film Interview – Turn Off Overhead Lighting
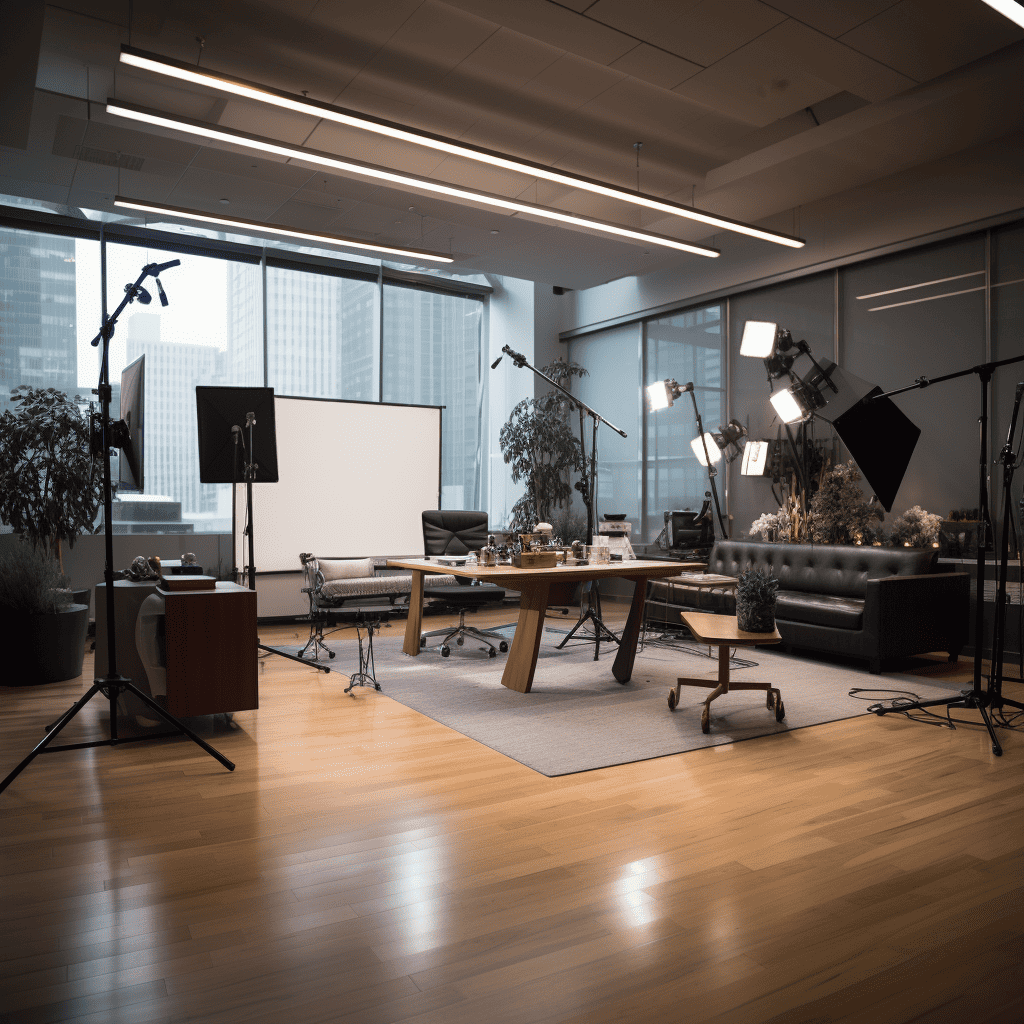
First of all, when filming an interview indoors (in most cases interviews are filmed in offices, shops, warehouses, or conference rooms), make sure you turn off all the ceiling lighting. I already hear you outrageously asking why.
Well, this lighting is not designed to professionally light the interviews. It makes the subject look terrible, messing up the skin tones and distorting the colors. Because, even if you set up the camera color temperature properly, the spectrum of these light bulbs is far from perfect, and in simple words, is not clean.
No matter if that is an LED or CFL lighting – that’s why they are cheap, and professional video production lighting is paid for (our in-house single key light alone is $1500).

How to film interview – 3 point lighting key
Key Light
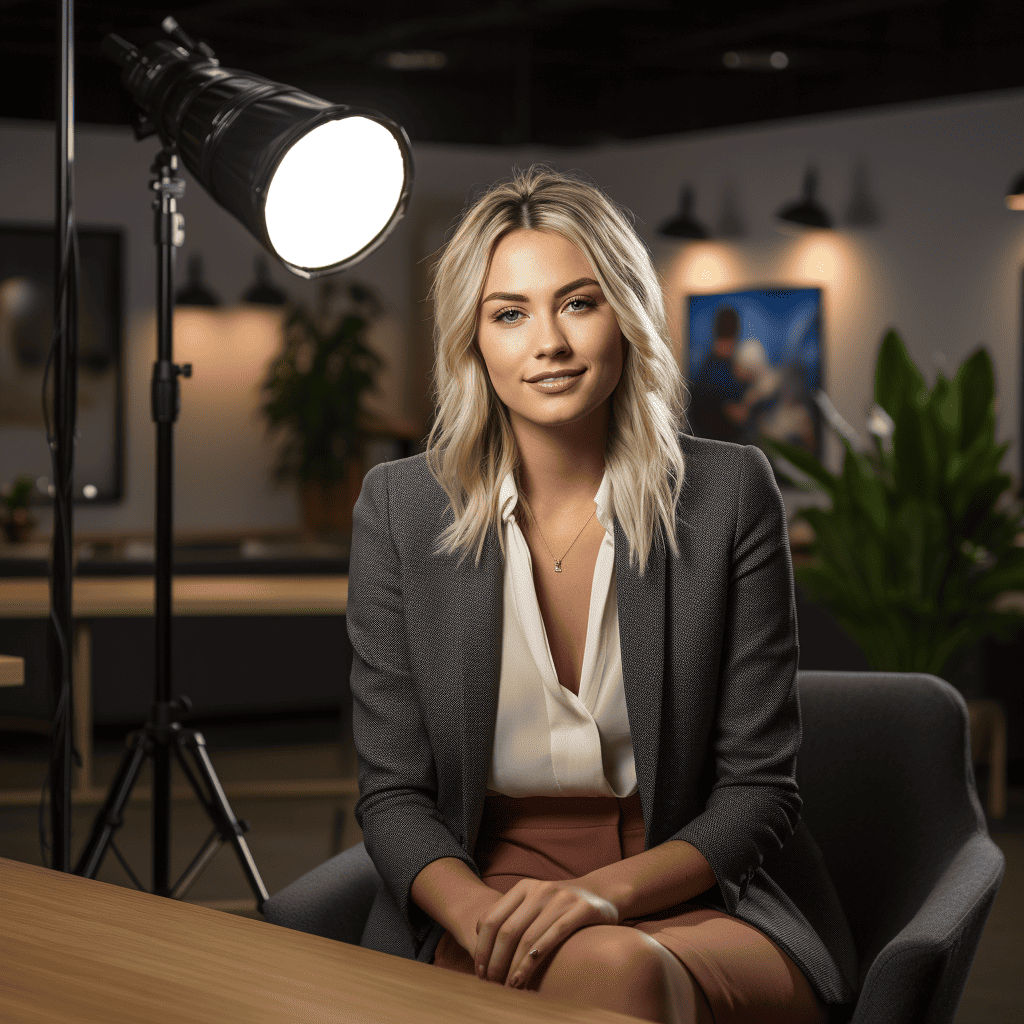
Now, you are “in the darkest of rooms”, asking yourself what is next. Well, next is the key light. This is the most powerful light source, that has to expose the subject, and spill some light to the background of the scene.
If there are any windows – make sure they are on one side with the key light, when setting up the gear and the seating.
First question you might have – where on earth should I place the keylight!? The simplest rule that I use – on the opposite side of the eye line (imaginary line between the interviewers and interviewees eyes) from the cameras. At 15-35 degrees angle. This way, the light is going to add volume, and 3D effect to the subjects face, adding shadows and highlights.
In terms of the height – put your light high enough to simulate the ceiling lighting, but not too high – in this case the face is going to look dramatic and gloomy, with too many shadows under the eyes, nose and chin.
Make sure that the key light is large and soft – use a Lantern or Dome light attachment.
The best if you have a white table or floor under the key light. This way, reflected light is going to light up the shadows on the face – chin, nose, eyes.
Fill Light
Now to the fill light. Fill light fills the shadows. Without it the face of the subject is going to look way too dramatic.
However, when filming interview at a place where you cannot turn the lights off, like workshop, like we did recently for CNCDA Foundation, one can not turn off the lights of a 30 car lifts and hundred techicians workshop, paralyzing the work.
That’s why we didnt use any fill light, and it turned out great. The shadows were already perfectly filled. We just had to crank up the key light and the backlight.
For the fill light – it is very helpful to install the so-called bounce – a round circle on a stand that reflects the key light, and thus fills the shadows. Less gear always makes life easier. Less batteries and wires to worry about.

How to film interview – lighting key
Backlight
Now, the third element of lighting – the back light. The backlight is necessary to separate the subject from the background. It lights up the head from the back, and adds more texture to the face.
Don’t underestimate the importance of it. Yes, installing three lights might get tiring, but you got it! For the back light, we use a battery powered LED tube.
It has color temperature and RGB setting. Why is that important for the interview filming process?
Number one thing is that it is easy to install, and since it is long, it separates not just the person, but the chair, and other objects in the frame, from the background, making the shot more cinematic.
Second, is what is called motivated lighting. If there is some kind of a warm lamp in the background – it is a great idea to turn it on. But! The back light has to match the lamp, otherwise this will look surreal and mess up the whole lighting setup.
Third, and the best one, video production aside – this tube light looks like a lightsaber, and you can adjust color, whether you are a Jedi or a Sith. Just kidding.

How to film interview – lighting key
Conclusion
So this is the crucial three point lighting setup. Mastering it, you can create a true interview masterpiece! So what is the elephant in the room? Well, it takes a lot of gear and stands to make it, a lot of experience and time to make it right and fast.
That’s what we, a corporate video production agency IT STARTS! media are for.
You’d be surprised, but this is not it! Cinematographers have dozens of lighting elements on stage, when filming not just interviews, but movies and blockbusters. Lighting is used to imitate window light, ambient lighting, moonlight, police light, and so on and so forth.
Keep it in mind and be creative with your interview video production! Just keep in mind – there are some rules in videography, but there is nothing wrong to break them a little. That is how new styles and trends are developed, after all.
Gear List
Here is the in-house gear list that we use in our interview video production:
- Key Light – Generay Radiance with Aputure Dome II or Aputure Lantern, Impact Stand
- Fill light – GVM 2 LED Panels set, Sony NPF batteries for them, 5 in 1 Studio Bounce, Stands
- Back Light – Nanlite Pavotube 2ft, Impact stand with extendable arm
Now, you have all the knowledge to go and set up perfect lighting for your corporate interview video production!
In the next part, we will talk about what filmmakers call 50 percent of the video production success – audio recording, and how to get the audio – microphone, lavalier microphones, properly setup.
Stay tuned!
Join our newsletter
Get video tips and tricks right in your inbox!


