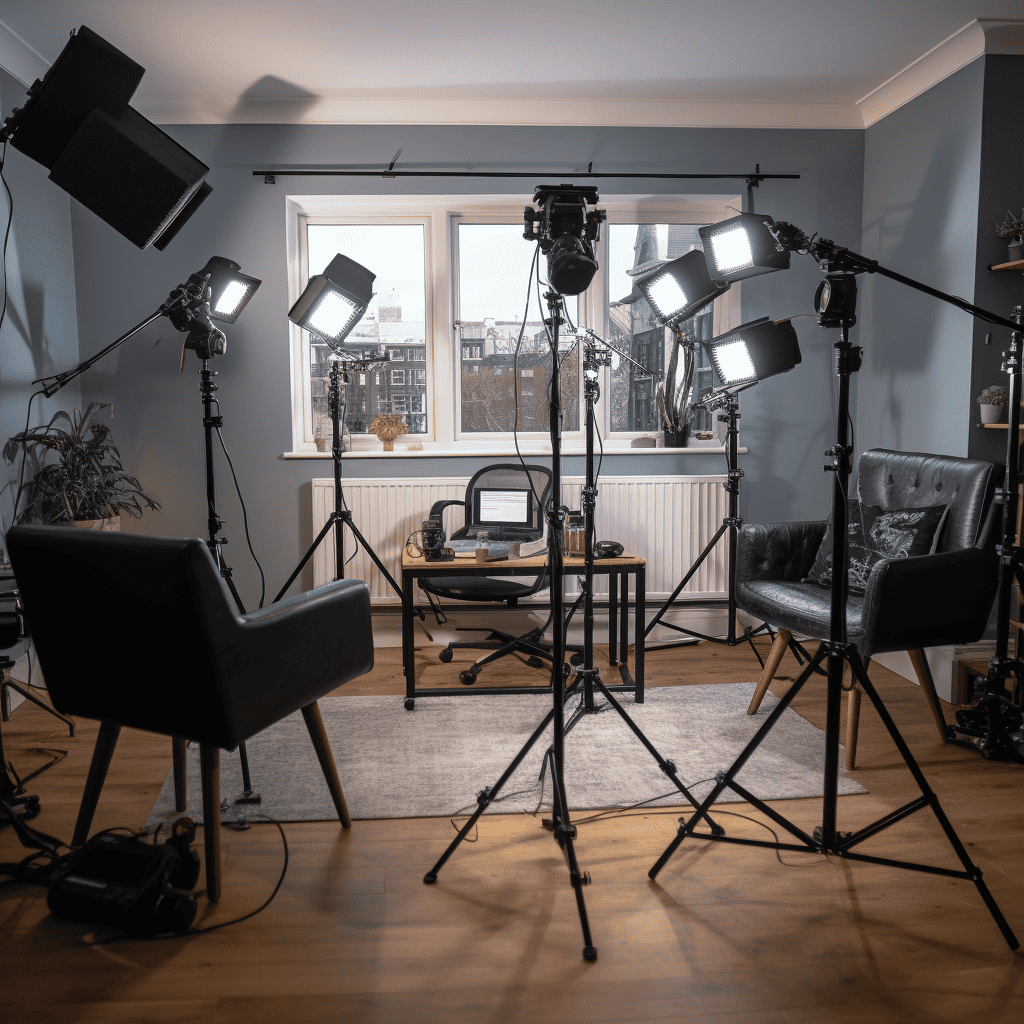
Interview production setup
In the corporate video production world, having the skill and knowing how to film interview plays the biggest role. Interviews are used in a huge variety of corporate videos, promotional videos, brand story videos, testimonials, explainer videos, event videos, and more! However, setting up cameras, lighting, and audio for the interview video production the right way is not quite easy, and requires a lot of experience.
What is more important is the speed – in most cases you have to get all the gear set up pretty quickly. Why? Because in the vast majority of cases the interviews are filmed during the working day. This could be a busy office in San Francisco, a loud dealership workshop in Los Angeles, an optometry practice in Sacramento, or any other business or company anywhere in the United States. No matter what company it is – people there are always busy, that’s why you have to act and film quick, and stay professional.
In this series of articles, we will explain in detail, share our experience, and share the industry knowledge of how to film interview with 2 cameras. We will cover the cameras, the lighting, the audio recording, and post-production. We will also include all the gear that is needed for Hollywood quality interview videos.
This is the part one, where we will cover the location, the cameras, camera angles and framing aspects.
Location and Background for Interview Production
First of all, make sure that you place the subject (the interviewee) far enough from the background. This way, you will be able to achieve the bokeh (background blurring effect, or depth of field), so that the footage is cinematic, and the viewers attention is concentrated on the persons face, and their speech.
Also, a great idea is to choose the background in a way that there are leading lines in the interior that would point to the subject’s face.
Don’t forget to use the rule of thirds – make sure the subject’s face is on the intersection of the lines that divide the shot into thirds.
In the shot, also make sure there is enough space on the side where the speaker’s face is pointing, not behind the speaker.

How to film interview, framing
Cameras and Angles
With the tripods and cameras height, it really depends on the location and the shot, but it is a good idea to place the cameras a bit lower than the eye line (an imaginary line between the interviewer’s and interviewee’s eyes). The cameras in this case will look a bit up to the subject’s face.
But how far should the cameras be placed to the left or to the right? First of all, make sure BOTH cameras are to one side from the interviewer, either to the left or to the right side. We place our cameras 15 degrees from the eye line for the A camera, and 25-35 degrees from the eye line for the B camera.
Let’s now cover the focal lengths and the aperture.
Even though there are certain rules of interview video production, there is nothing wrong with stepping away from them a little! Keep it in mind when reading further.
A Camera
We use a wider lens for the A camera – 35mm Full Frame (23mm for APS-C sensor size). Why? This gives a wider field of view, capturing the environment (whether it’s a busy office, a workshop, a factory, or a healthcare center). Capturing the environment helps enhance the whole vibe and feeling of the video, captivating the viewers attention, and making the story and the words sound more trustful. And when filmed in 4K, this can be cropped in to give a huge variety of angles, without losing the quality.
Most projects are delivered in Full HD, which is 4 times smaller resolution than 4K. As a result, that is why filming in 4K, or 2160p, is a great option, especially for dynamic interviews. Most of the cameras are capable of that, but not all of them. Make sure the camera you want to use for corporate interview production supports 4K, and at least 30 frames per second. 10 bit recording would be ideal.
We use Fujifilm X-T4 as our in-house A camera for several reasons – it captures the colors precisely, and records F-LOG 10 bit, which is crucial for color grading. This is an APS-C sensor camera, but with Fujinon 23mm F1.4 lens – it provides great bokeh effect.

Interview framing
B Camera, and Why Do You Need It To Film Interview
Why would you need a second camera for corporate interview production? It provides a bigger variety of shots. Combining A cam and B cam in post production, you can highlight the inspiring words or phrases that you want the viewers attention to concentrate on.
For the B cam, the best focal length range is 50-100mm, again, depending on the environment and location where you film interview. We recommend and personally use a zoom lens that would cover a range of focal lengths.
We use another Fujifilm X-T4 as a B cam. Using the same camera model makes things much easier in editing. We use a Tamron 17-70mm F2.8 lens. With it, we can adjust and narrow the shot the way we want to capture all the needed details in the background, and at the same time, F2.8 aperture for Fujifilm XT4 is more than enough to blur the background.

Conclusion
Interview video production and camera setup can be a challenging task, especially when there are two cameras you need to take care of, and make it quick. But with the right knowledge and skills, you can achieve great production quality results. Filming an interview with 2 cameras is definitely more complicated than with a single camera, and adds more work to the post-production process. However, the variety of shots makes all the difference, and will make your video stand out. What helps a lot is a hiring a secondary director of photography, or camera assistant, that will help you out. Remember – you now have lighting and audio recording to set up!
Stay tuned for the part two, where we will cover all the aspects of cinematic three point lighting for high production quality interview production.
Join our newsletter
Get video tips and tricks right in your inbox!


